To set up a common, shared calendar list, you simply need to create a shared mailbox.
NOTE: Because, creating a mailbox to be used for shared calendar or contacts list involves creating a shared mailbox, the people that can access the shared calendar or contacts list can also access and respond to email sent to the shared mailbox.
- Sign into admin.microsoft.com.
- Go to Admin > Groups.
-
On the Groups page, click Shared Mailboxes, and then click Add a mailbox
- On the Add a shared mailbox page, enter the following information:
Mailbox name This name appears in the address book, on the To field in email, and in the list of shared mailboxes on the Shared Mailboxes page. It's required and should be user-friendly so people recognize what it is.
Email address Enter the email address for the shared mailbox. It's required. - Click Add
- Select Add members to this mailbox
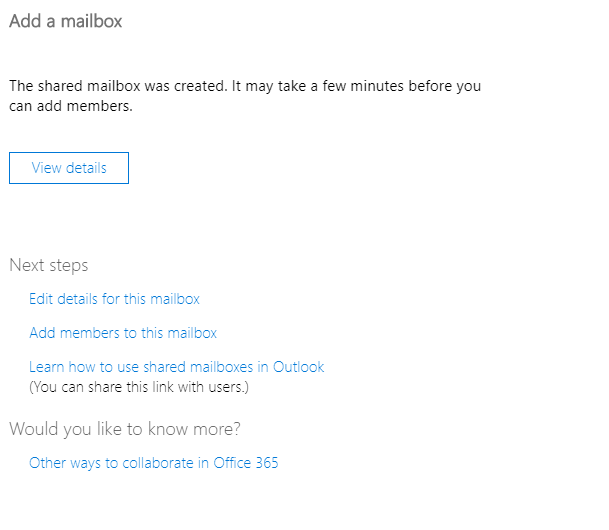
- In the search field, type the admins name you want to add and then click Search. The person is added to the list of members.
- When you’re done adding members, click Finish.
NOTE: If new users are created in your organization, who need access to this shared calendar or contact list, you'll need to add them to the membership list of shared mailbox.
How to Share a Calendar
Outlook
If you have permissions to a shared mailbox, the shared calendar associated with the shared mailbox is automatically added to your My Calendars list.
- In Outlook, select Calendar.
- In the folder pane, under My Calendars, select the shared calendar.
-
Click Share Calendar on the top ribbon.

- Select the calendar you would like to share.
- In the permissions tab click add and add the group that you want to share the calendar with and select the permission you want for that group.
Outlook Web App
- Login to outlook.office.com.
- Click the profile button on the top right of the page and select Open another mailbox.
- Choose the mailbox you just created and click Open.
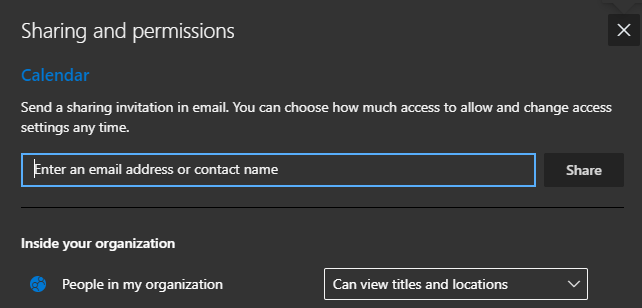
- Click the calendar icon and on the top right click Share.
- Choose the people or groups that you want to give access to the calendar and give them the appropriate permissions.